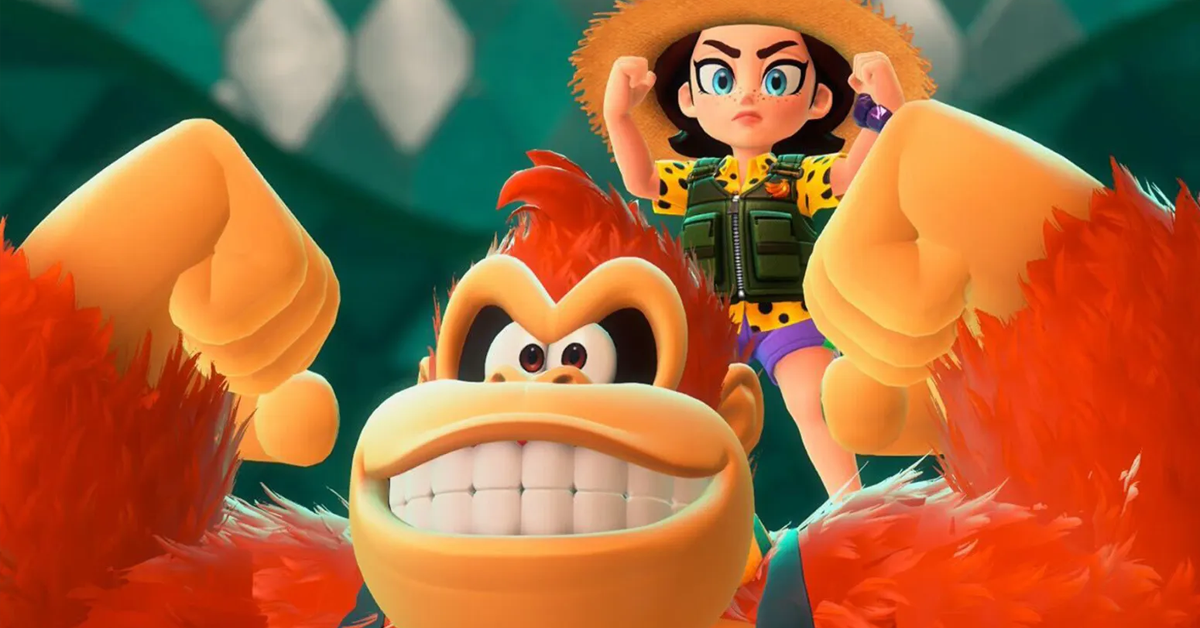
Donkey Kong Bananza is here, and it’s a very fun time. However, there are some things I wish I knew before starting my adventure with DK and Pauline, so today I’ve compiled 23 tips, tricks and guides and I’m going to share them with you, so you can get off to the right start in Donkey Kong Bananza.
If you like the video then subscribe for more Donkey Kong Bananza content here on Power-up Direct.
Without any delay, let’s dive into the tips and guides.
Throwing chunks can be better than punching
Throwing terrain chunks at enemies hits harder than DK’s fists—especially against armored foes. The environment is your weapon. Always be chucking.
Use Enemies as Weapons
Small enemies can become deadly projectiles. Time your punches right and launch them into groups — or use their flying bodies to clear a path. It’s chaos. It’s glorious. And it works.
Loot Ingot Isle for Gold Before You Leave
You’ll need gold for everything: powering up Bananergy, buying items, and even paying off your own death fee (yep, dying costs 500 gold). Ingot Isle—the opening area—is LOADED with gold. Scoop up as much as you can before heading deeper because you won’t get a second chance until after the credits roll. I left with 5,500 gold and didn’t regret a single nugget.
Fast Travel Anytime, Anywhere
Lost? Overwhelmed? Don’t stress. Use the teeleport system to summon a slippery pal who’ll zip you to the nearest checkpoint, getaway, or Warp Gong. Warp Gongs also let you jump between major levels — just remember you need to have activated both ends.
Undestand the terrain
Not all dirt is created equal. Use ZR to grab, then hold ZR to aim and identify a chunk’s type and toughness. If it doesn’t list toughness? It’s probably indestructible bedrock. Move on. Knowing what you can (and can’t) smash will save you time and health.
Reset the Terrain
Dig too deep? Don’t panic. Hit the ‘+’ button on the map to reset the entire layer’s terrain. Not only does this rebuild the layout, it regenerates gold deposits—making it a good way to farm cash and treasure all over again.
Buy Red Balloons
Falling off a high ledge? Red Balloons can save the day — if you’ve got one. They’re cheap insurance against a 500-gold death penalty. Grab stacks at the Lagoon Layer’s Stuff Shop (SL 101). A stack of 10 only costs 400 gold.
Master the economy
Here’s your jungle currency cheat sheet:
Banandium Gems = Skill Points (earn through story or exploration).
Fossils = Fashion fuel for DK/Pauline (layer-specific, some offer combat perks).
Gold = Universal cash for items, upgrades, and getaway construction.
Banandium Chips = Tradeable for Gems at exchange shops—great for skipping banana hunts.
Pro tip: Chips get more expensive the more you trade, so spend wisely!
Punch Ropes and Pay Constructones for shortcuts
See a green rope winch? Hit it to drop a climbable rope from a high place—perfect if you fall. Constructones (they’re the guys in yellow hardhats) can also build shortcut routes like barrel cannons, usually for a small gold fee.
Bananza Mode
Going Bananza turns DK into a demolition machine—and recharging the meter is cheap. Whether you’re in combat or mining deep, don’t hesitate to transform.
Max Out Kong Bananza Early
Your first Bananza form — Kong Bananza—is an absolute powerhouse. It turns DK into a tunneling, thorn-smashing, punch-projectile-launching wrecking machine. Upgrade it fully ASAP. Other Bananzas are fun, but none beat the sheer utility of Kong’s raw strength.
Smash Red Mounds for Instant Healing
See a glowing red mound? Smash it. These hidden hotspots usually pop out healing apples. They’re more common when you’re low on health or playing with Assist Mode. It’s the perfect alternative when you’re too far from a getaway.
Save Skill Points for Bananza forms
Tempted to upgrade early? Hold off. You’ll want a stockpile of Skill Points ready when you unlock new Bananza forms. That way, you can immediately power up and take advantage of their unique abilities.
Outfits have perks
Outfits aren’t just for show—they provide real perks tied to hazards or Bananza forms. Match your gear to the current layer’s dangers. The best gear is often sold in the layer it’s meant for, so stock up on fossils and shop local.
Build Getaways Early and Often
Getaways are more than just cute monkey huts — they’re game-changers. Each one adds bonus hearts, lets you change outfits, and unlocks fast travel. Build multiple in a layer and you’ll unlock a concierge that acts like all three shops in one.
Check Your Smashin’ Stats for Free Gold and Bananas
Hidden in the Collection menu is your Smashin’ Stats tab. Break enough stuff in a layer and you’ll get bonus gold—up to 300 coins per tier.
Hunt for treasure chests
Smash your way through the world — there’s gold, Gems, and treasure chests everywhere. These chests might contain:
Apple Juice
Balloons
Treasure maps
Or big piles of gold
Never stop digging. It’s more rewarding than it looks.
Learn to Roll-Jump
Channel your inner DKC speedrunner:
Roll off a ledge
Hit jump midair
Chain into another roll
It’s a slick trick that covers massive distance—think Odyssey’s dive-jump but with more fur and momentum.
Treasure Maps Are Game Changers
Treasure chests often hold maps that reveal fossil locations on your map. These maps = easier gear, which = better survival odds. Every chest could be a fossil ticket. Don’t ignore them.
You Can Respec Your Skills for Free
Made some bad skill choices? No worries. Just talk to any Elder after unlocking their Bananza form and select “Reset My Skills!” It’s free, fast, and lets you experiment to your heart’s content.
Let me know what you think about DOnkey Kong Bananza, and share your tips in the comments.
Leave a Reply